Showing posts with label main dish. Show all posts

Thursday, March 17, 2011

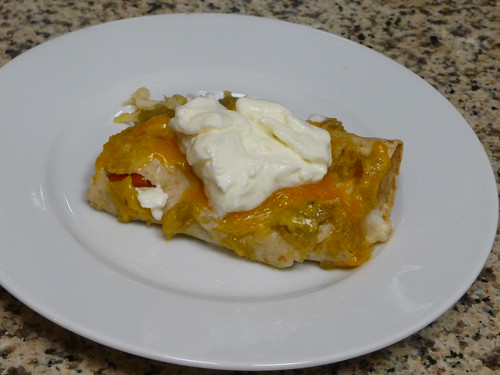
Crab Enchiladas


Like many people at the start of a new year, I attended a crab feed.  I didn't like crab until I started having to work a crab feed and got fed for free.  So now I love it!  And you can't leave without  leftovers! So what do you do with a whole bowl full of crab? First you have to shell it - a  long tedious process, but goes fast when you are catching up on Netflix.  Then you make something good.  This recipe is my version of crab enchiladas.  It's light and not fishy tasting at all.  I used healthier ingredients, like low-carb tortillas, and low fat cheese - and I didn't really miss the real stuff. However, if that is not appealing to you, by all means bring on the carbs and fat!


What I used:
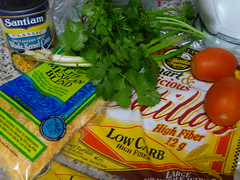
 
shelled crab meat
1 can corn, drained
2 tomatoes, diced
2 green onions, chopped
handful cilantro, chopped
low-carb tortillas
low fat "mexican style" shredded cheese
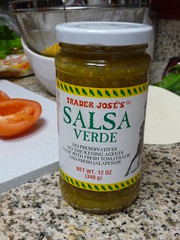
1 jar salsa verde (probably should have used 1 1/2 - 2 for this much, depending on how much sauce you like
sour cream
glass baking dish


What I did:

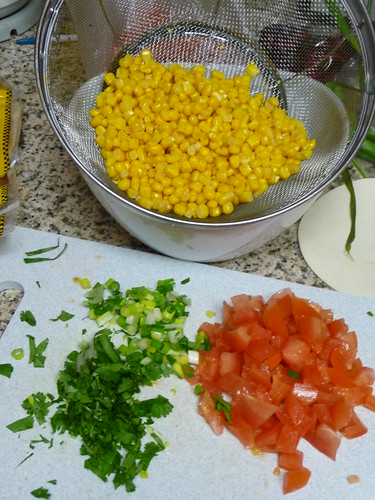
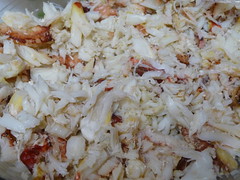
1.  First I prepared all my ingredients-drained the corn, chopped the tomatoes, onions, and cilantro.  I also ran my fingers through the shelled crab to break it up and make sure no shells were left behind.
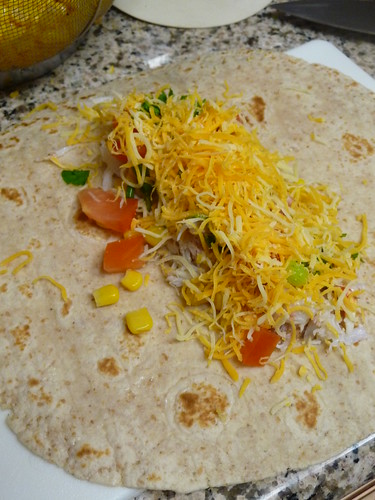
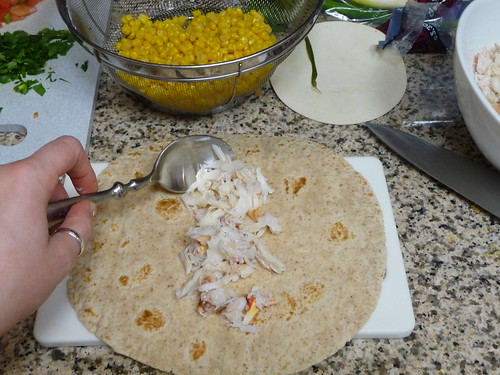
2.  Next I prepared the enchiladas.  On each tortillas, I put about a tablespoon of crab meat, then sprinkled on some corn, tomatoes, green onions, and cilantro.  I topped it off with a small handful of shredded cheese.   
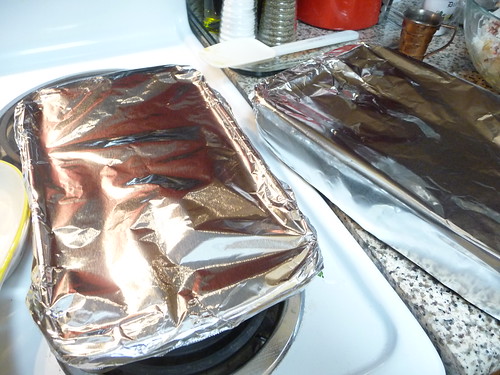
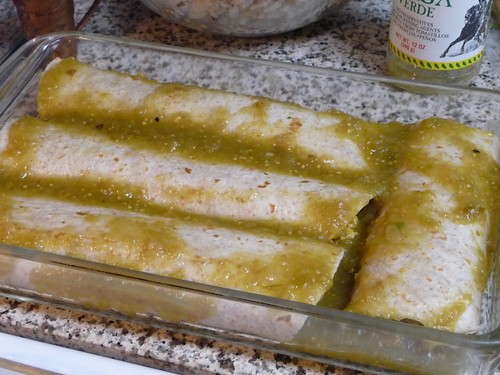
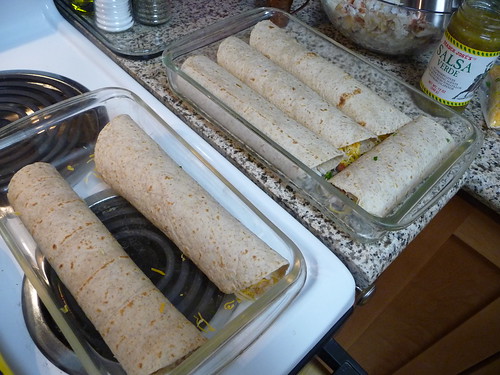
3.  Once filled, roll the enchilada and place in a glass baking dish.  As you can see, I ended up making enough to fill two glass dishes.
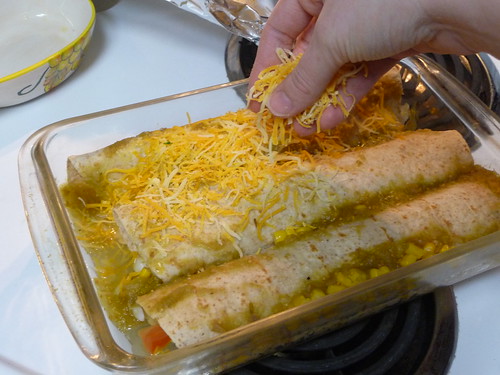
4.  Once all the enchiladas are completely assembled, pour the salsa verde over the top and sprinkle with more shredded cheese.  Cover with foil and bake at 350* for about 30 minutes or until the cheese and sauce bubbles.  You can remove the foil towards the end if you want the top to brown slightly. 
5.  When ready to serve, dollop some sour cream on top. Enjoy!!
Crock Pot Beef Stroganoff

Sometimes with new recipes I really amaze myself- like with this one. Mainly because I have never made beef stroganoff before and went with my own version after looking up a few online.  Most of the time when I do that, the food comes out so-so. But not this one. If I can eat it three days in a row - it must be good!  There was enough for a small army, or maybe a family of 4 with leftovers. So if you are cooking for one a lot like me, invite some friends over, or just keep eating it for every meal.  My version of beef stroganoff is made in the crock pot, so it's super easy and besides chopping veggies, so it doesn't require much effort.  This dish was also approved by my picky 4 year old!


What I used
2 medium carrots
2 stalks of celery
2 garlic cloves
1/2 white onion
2 cans of condensed cream of mushroom soup
1/3 cup chicken broth
1.5 pounds London broil
1/2 cup light sour cream
salt and pepper, if needed
1 lb pasta, cooked al dente, and drained

What I did

1.  First prepare the veggies.  Shred the carrots using a cheese grater.  Then finely chop the celery, onion and garlic.
2.  Next, add all the ingredients (except the sour cream) into the crock pot.  Set it on high for 4 hours.  About half way through check your dish.  Mine looked like it was browning too much, so I switched it onto low. Total cooking time was about 5 hours. 
3. Once the meat is cooked through, take it out and place it onto a cutting board. Using 2 forks, shred the entire piece and set it aside. This is also a good time to taste the sauce. If you'd like, add salt and/or pepper if it needs it. When the meat is almost finished, boil some water in a large pot for the pasta and cook to your liking. 

4.  Before adding the meat back into the pot, add the sour cream to the crock pot sauce and stir to combine.  When the sauce is mixed completely, add the meat and the pasta.  Mix everything together and enjoy!
Hints
* London broil is usually inexpensive. My mom suggested I buy it for stew meat, because it's a very lean piece of meat.  This piece I bought was less than $4.
*I top all pasta with Parmesan cheese, so if you are like me, go for it!
*If I have a lot for one recipe,  I will take out my Cuisinart to shred carrots because using a grater scares me sometimes. So in order to protect my fingers, I found a little trick by putting the carrot on the end of a fork and using that to hold the carrot as i grated it.  You have to keep moving it to different sides, and you end up with a bit at the end that you can grate, but I still have all my fingers and no cuts!

Thursday, May 27, 2010

Spinach Orzo Salad


This was one of my very firsts posts, however due to the beginning of warmer weather...or wishing for warming weather, I thought I'd re-post it. This time I have pictures too! Hope you enjoy!

The salad marks the beginning of summer for me. I got this recipe once from a Rachel Ray cookbook, and I don't know how close it is the original, since I do it mainly from memory. It's really easy and can be done in about 20 minutes.

Ingredients:

1 bag baby spinach
1 box grape tomatoes
1 cup orzo pasta
1 lemon
Olive oil
Salt and pepper
Garlic powder
Handful of basil leaves
1/2 cup Parmesan cheese

Directions:

Cook the orzo according to the package.

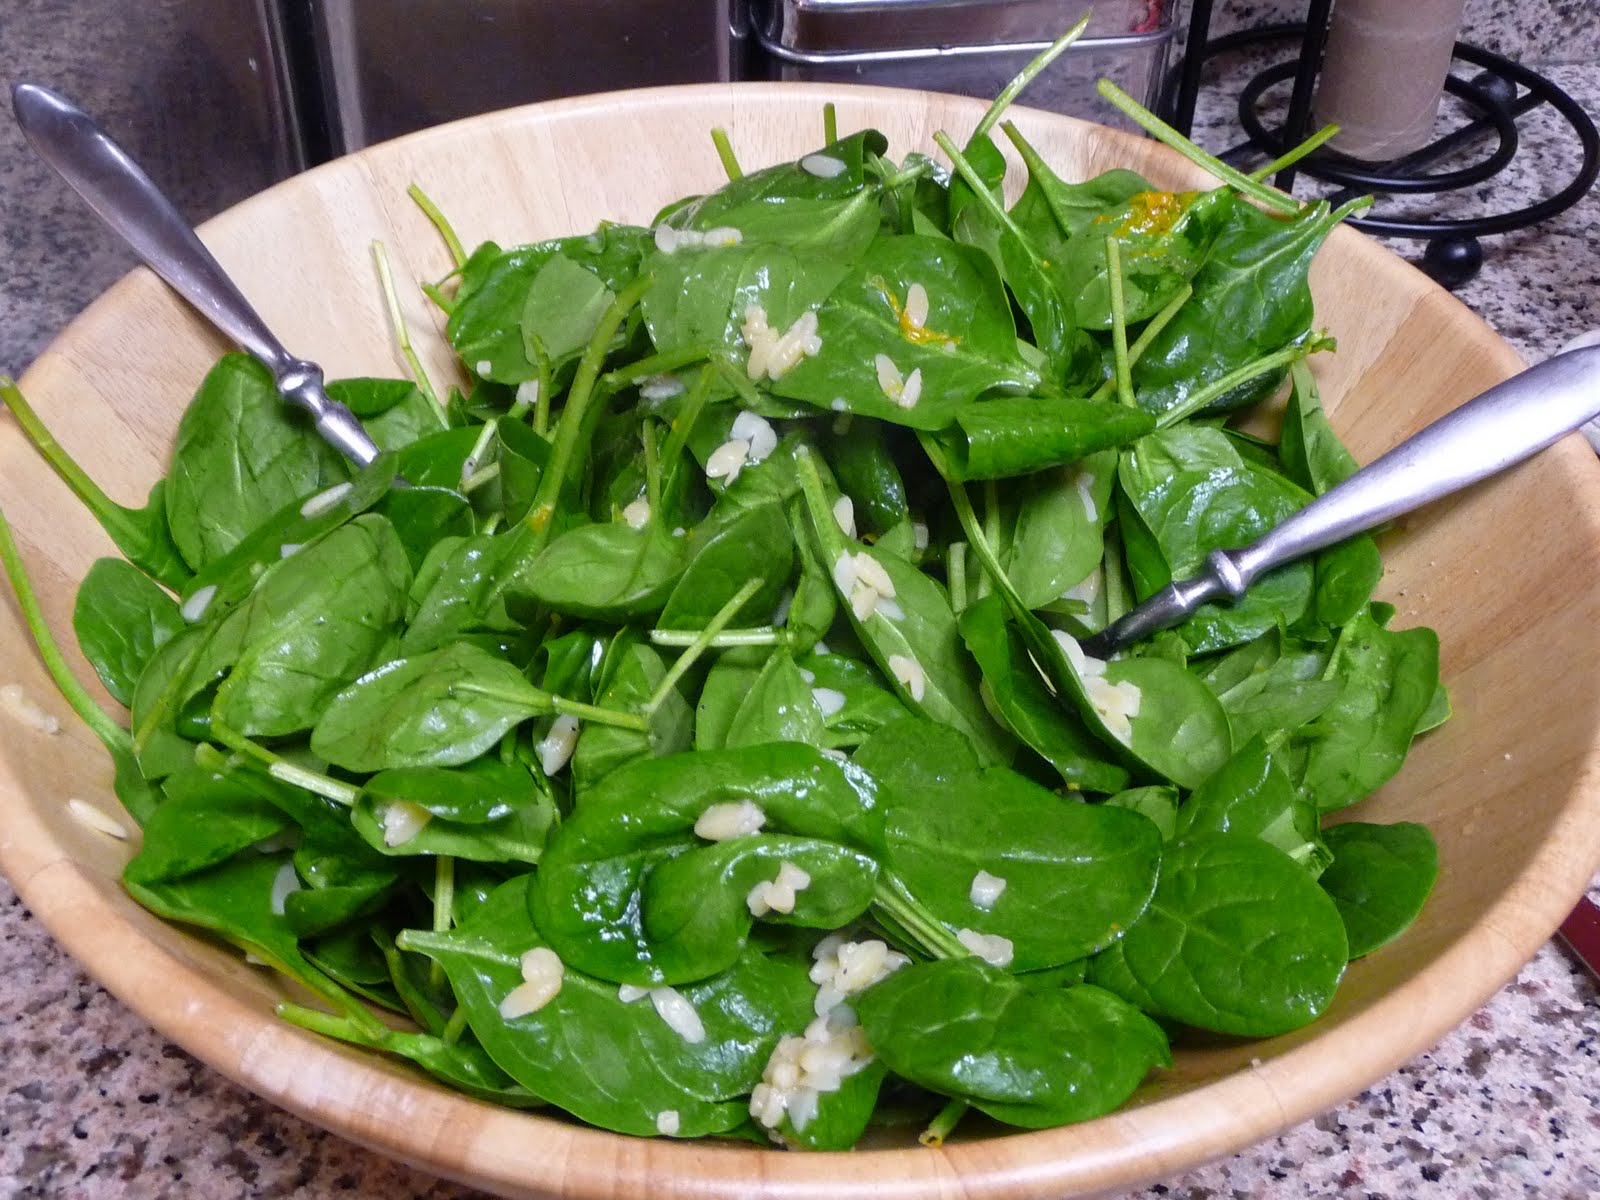
While its cooking, dump the spinach and tomatoes in a large serving bowl.  Add the lemon zest too.


Chop up the basil and put it aside to add at the end.

Once the orzo is cooked, drain it and put it back into the pot or the strainer. Drizzle in some olive oil, just enough to make it not stick, then add in the salt, pepper and garlic powder-a few shakes of each should be good. Add the juice of the lemon as well and stir to combine.

The orzo mixture is then added to the spinach mixture and tossed to combine. Top with the basil and cheese, and toss a few more times. Taste, then add more seasoning if needed.


Tips:
*Any kind of tomato can be used in this salad, just cut them into small pieces to make it easier to eat.
*I like to add grilled chicken or shrimp to this to make a complete meal.
*Once made, this will keep in the fridge for a couple days, sometimes tasting better the next day.
*Don't worry about adding the hot orzo to the cold spinach. The heat will wilt it a bit and bring out the oils of the lemon zest too, making it more tasty!

Friday, January 8, 2010

Farro Salad


My cousin Anna from Italy came to visit last summer and made a farro salad for my family. She showed me one method, but after talking to her, I realized it's somewhat like a pasta salad, where there are thousands of recipes for it, and you pretty much add what you like. So you can follow my lead and use these ingredients or add whatever you enjoy. 

Farro is a grain found in the Tuscany region of Italy and it can be found here in the states, but mostly in stores like Whole Foods. Here it is called spelt, so if you find that you can substute it in this recipe or even use a different grain like brown rice or barley. If all else fails, use a small pasta like orzo.


Ingredients:


1 cup farro

1/2 cup frozen peas, thawed

1/2 can pickled beets, chopped

1/2 can baby corn, chopped

1/4 cup chopped onion, white, red or green

1/4 cup chopped carrots

1/2 cup chopped tomatoes, any kind, this time I used a variety

2 tbsp capers, chopped

1-2 tbsp Olive oil

1/4 cup red wine vinegar

Salt and pepper to taste

Optional: diced cooked chicken breast

Directions:

1. Bring a pot of water to boil. Add a generous pinch of salt to the water. Add the farro and cook for about 30 minutes. It will be done when it is soft like pasta but still with a little bite to it. Drain the farro when finished and put it into a bowl.


2. While the farro is cooking, chopped all of the ingredients and add it to a large bowl.


3. Add the cooked farro to the bowl and drizzle with olive oil, probably a couple tablespoons worth. Add the red wine vinegar, and salt and pepper. Stir to combine.


4. Let it sit for about 10 minutes, then taste. Add more salt and pepper or vinegar if needed. Keep in a air-tight container in the fridge for up to a week. This amount will make enough for 5-6 servings.


Wednesday, September 30, 2009

Taco Soup


This dish was inspired by my friend Vicky at work. Her husband made this great lunch one day which she called Taco Soup. It was delicious, so I couldn't resist trying it myself, knowing that I had most of the ingredients at home. It didn't taste the same, but sure was tasty. So here is my try at Taco Soup (although its more like a taco chili, but Taco Soup is more fun to say.)

What I used:

1 lb ground beef

1/2 small onion, chopped

1 garlic clove, minced

1 palm full each of chili powder and cumin

Salt and pepper to taste

1 can each of corn and pinto beans, drained

2 cans stewed tomatoes - one was Mexican style with chilies in it

Tortilla chips

Sour cream

Shredded cheese


What I did:

1. I started by heating a skillet on high heat and then browned the beef, crumbling it up as it cooked.

2. I then added the chopped onion and garlic and let it cook to soften. When the meat was almost done, I drained out some of the grease with a spoon.

3. The chili powder, cumin, salt, pepper were added next, stirring to combine.

4. Once the meat was cooked through, I added all of the cans. Everything was mixed together and simmered for a few minutes until heated through. Make sure you taste it at this point. Add more spices if needed.

5. To serve, I ladled some of the soup into a bowl and mixed in the cheese and sour cream. Then it was topped off with chips. Yummy!

Friday, July 24, 2009

Bruschetta Pasta


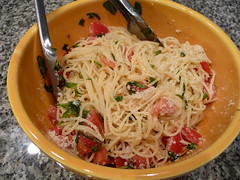
If you can make bruschetta, you can easily make this pasta dish. All you do is make the bruschetta and cook the pasta. When the pasta is done toss it with the bruschetta and top with Parmesan cheese. So simple and so fresh on hot summery days.


The bruschetta recipe can be found under Bruschetta Burger here. I've included some pictures with some tips on how to prepare this and for general knowledge of tomatoes and basil.


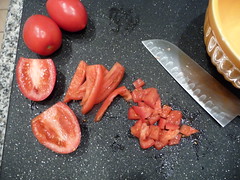
I cut the tomatoes in half first and seed them by pushing my thumb into the tomato and scraping out the seeds. This gets some of the extra liquid out too

With Roma tomatoes, I like to slice them lengthwise first, them turn them sideways and dice them. Really, it doesn't matter, just make sure you have a nice sharp knife.As a side note, that knife is my all-time favorite. It's a 7-in Hollow edge Wusthof Santoku knife which allows air to get in between the food and blade so you can cut thin slices. It is also very easy to hold, even though it can look intimidating to a novice chef.


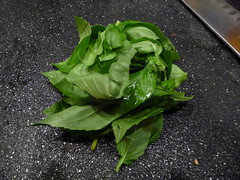
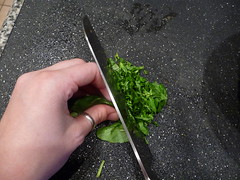
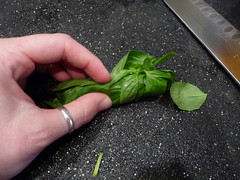
Wash the fresh basil and pat dry with a towel. Then start by rolling it into a log. If you have big leaves its easier to pile them all on top of each other before rolling. Unfortunately I did not, so I just took the pile and rolled. Once it's rolled, start chopping the basil and making thin strips to cut. When you are finished you will have little ribbons of basil.
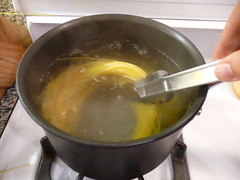
As far as cooking pasta...always put a lid on the water while you wait for it to boil and always turn the heat ALL the way up. It does boil faster!! Once it is boiling rapidly, take the lid off and add a good amount of salt--more than a pinch. You are flavoring the pasta while it cooks, so just a dash won't do much. Italians like their pasta al dente, which means there is a slight bite to the pasta and it's never mushy. If you follow the time on the box, its usually right. My rule of thumb is that I always start with 8 minutes (6 for angel hair or anything tiny). Then I taste it and decide to drain it or leave it for another minute or two.
To finish the dish, ladle a couple spoonfuls of the starchy pasta water into the bruschetta and stir. This helps the sauce attach to the pasta. Then toss in the drained pasta and mix together. I always top my pasta with Parmesan cheese. That's it, pasta and sauce in no time!